Hey everybody, we’re back. Our topic for today is “How can the Jio Fiber range be extended?” The tutorial will cover both wired and wireless methods to extend the range of Jio Fiber. Please read this carefully if you have not been successful in extending the range of Jio Fiber.

Let’s begin with the basics. First of all, we will need two routers for this. We will need one Jio Fiber gateway router to extend Jio Fiber’s range. Also, an additional router for extending the range.
Table of Contents
Extend Range of Jio fiber using wires
Wires are the best way to extend range. It is because in some cases, the wireless method does not have sufficient signal strength to achieve maximum speeds. We should use wires to extend the range in these cases. To achieve consistent and maximum speeds, we’ll also need cat6 or cate5e cables. In addition, the wired method provides a long-term solution for extending range.
- Let’s start by connecting the Jio Fiber to our computer.

- Search for Command Prompt and run it as administrator after connecting.

- To find out your router’s IP address, type ipconfig when the window opens.

- When you hit enter, scroll down to find your router’s IP address as the default gateway. (highlighted in below picture)

- Using the second router, connect your PC and log into the configuration page.
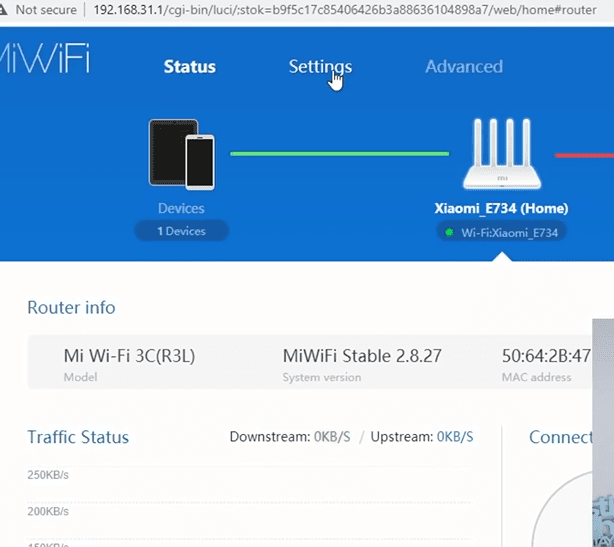
- After you have logged in, locate the DHCP server settings in your router. The LAN settings can be found in the LAN-related option, as in the following example.
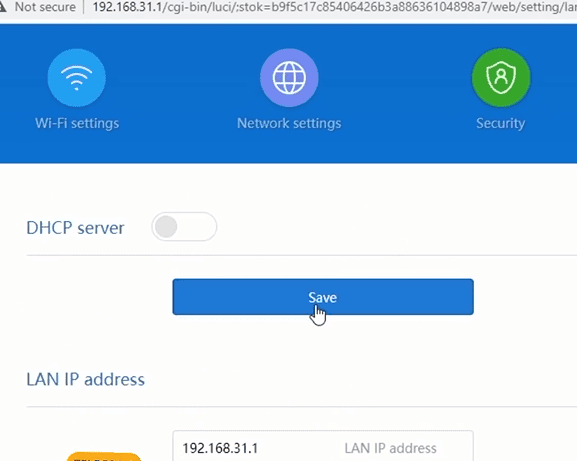
Once you have found the option for the DHCP server, disable it and then click Save.
- In the next step, you’ll need to change the LAN IP address to the IP address of your first router. However, you must change the last digit to +1. This is the most important step. Jio Fiber will be expanding its family of routers by adding yet another device. Simply change the last digit of your main router’s IP address and type it in this box. The reason for this is that the first three numbers refer to a family and the last to a member. In our case, JIo fiber is the first router, and the other is the second.

- If Jio fiber’s IP address is 192.168.29.1, we need to change it to 192.168.29.2. Type it exactly as for the Second router’s LAN IP address settings.

- Hit save after changing. After this, your router might reboot.
Additionally, connect the Jio fiber cable to any backport. In any case, the output cable should be connected to the LAN port of the second router. Not to the WAN port.
It’s that simple to extend range using a wired connection. If you followed all the steps correctly, you succeeded in extending the range.
Wireless method to extend range of Jio Fiber
The first step to extending Jio Fiber’s range wirelessly is to connect to a second router. And follow the steps given.
- Using the second router, connect your PC and log into the configuration page.

- After you have logged in, locate the DHCP server settings in your router. The LAN settings can be found in the LAN-related option, as in the following example.

Once you have found the option for the DHCP server, disable it and then click Save.
- In the next step, you’ll need to change the LAN IP address to the IP address of your first router. However, you must change the last digit to +1. This is the most important step. Jio Fiber will be expanding its family of routers by adding yet another device. Simply change the last digit of your main router’s IP address and type it in this box. The reason for this is that the first three numbers refer to a family and the last to a member. In our case, JIo fiber is the first router, and the other is the second.

- If Jio fiber’s IP address is 192.168.29.1, we need to change it to 192.168.29.2. Type it exactly as for the Second router’s LAN IP address settings.

- Hit save after changing. After this, your router might reboot.
- Find the WDS settings of your second router. Or maybe this feature present in your router as Wireless Repeater/Extender/Amplifier, also bridge mode. Also if not found then you’ll need another router for range extending.
If you found this feature then no issue. But some TP-Link routers come with wifi range-extending disabled by default, and there is no option to configure it. However, their software and hardware support it. To enable this follow these steps:
- Visit the system parameters settings of your Tp-Link router.
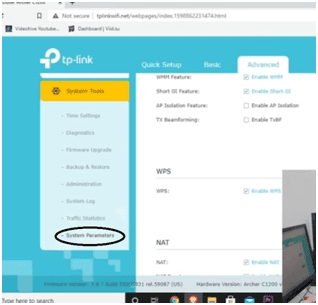
- Visit inspect by right-clicking on an empty area.

There is a development tools window.
- Click Ctrl+F to open the find window and type:
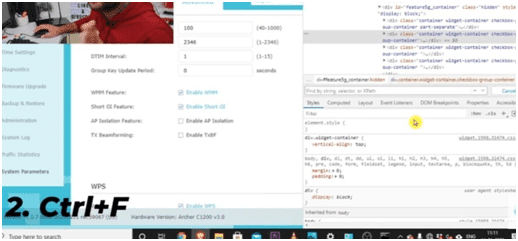
5g_wds_status (for 5ghz)
2.4_wds_status (for 2.4ghz)
- Here, a code will appear, and you have to change the “display – none” to “display-” (or remove “none”)

- Then hit enter to save it. WDS is now visible.

- Tick “Enable WDS”
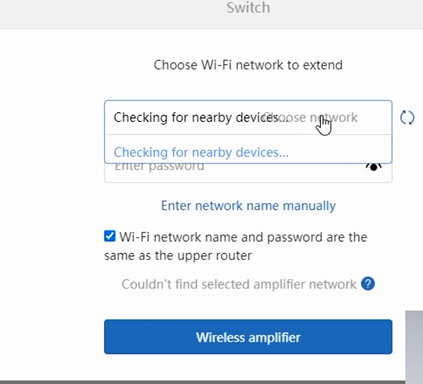
- And now click on the “choose network”. And select the router whose range you want to extend.
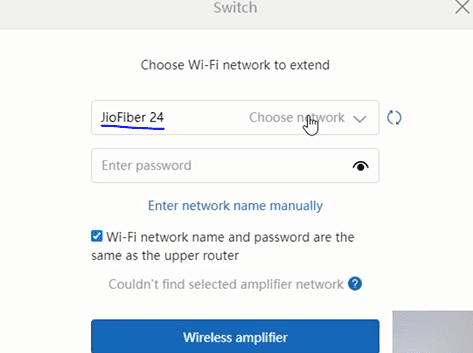
- Connect to your Jio Fiber router. Click on choose, enter the password, and hit save.
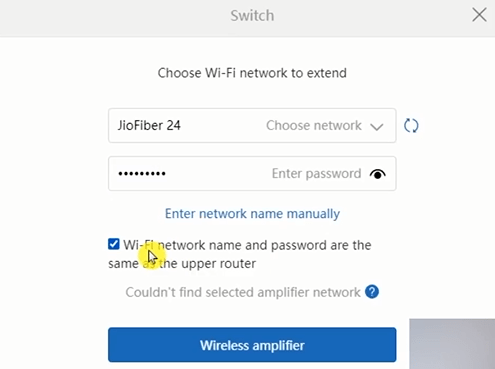
- And now it will ask to keep the name exactly the same as the main router. If you keep it the same then you’ll get a seamless transition over WiFi. But you can also change the second router’s name. Finally, hit save.
So this is it. You have successfully extended the range of your Jio Fiber.
Hope you found this article valuable. If you have any suggestions then comment down below. To read more interesting blogs like this, click here to visit our website. Also, Subscribe to the Sarcastic Sindhi YouTube channel to learn more interestingly about Tech.

Thank You so much for giving your valuable time to this article. We’ll meet in next article.Until then,
Stay Safe Stay Sarcastic




GIPHY App Key not set. Please check settings